I'm off on my holidays in a few weeks and I desperately need some clothes for the hot weather! After trawling shops and online for something that suits my desired goth-in-summer aesthetic, I decided to have a go at making some of my own summer clothes. I have never made my own clothes before.
I started off super basic; I love kimonos, I love the floatiness and the way they make a super boring outfit look thought through and interesting. I found this DIY on Babble which looked simple enough so I set to it!
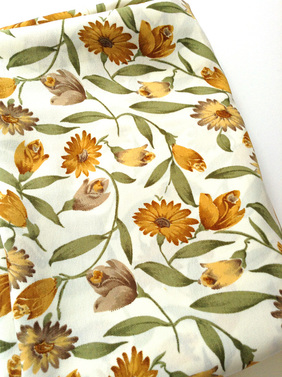
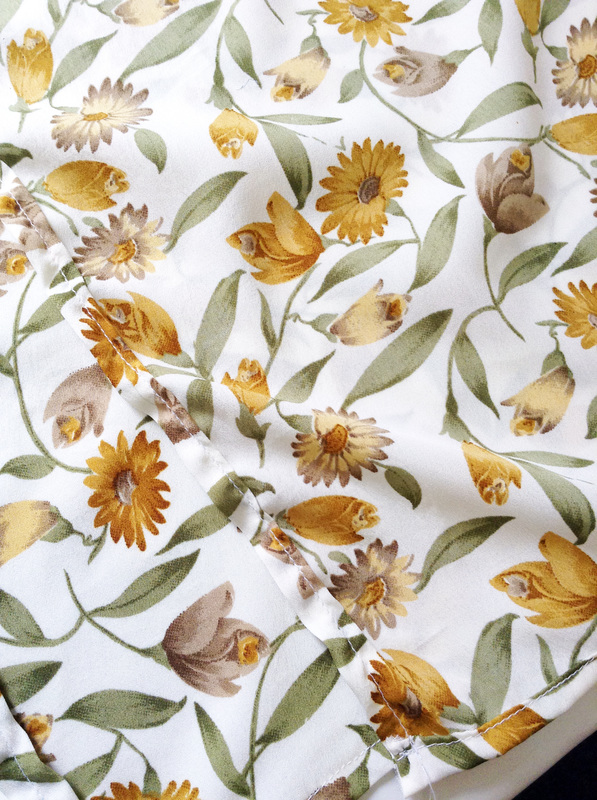
First, I picked my fabric; this was the fun bit as there are so many good ones! I finally settled on this yellow floral print viscose from my local market. It was £3.99 a meter and I got a meter and half.
I started off super basic; I love kimonos, I love the floatiness and the way they make a super boring outfit look thought through and interesting. I found this DIY on Babble which looked simple enough so I set to it!
First, I picked my fabric; this was the fun bit as there are so many good ones! I finally settled on this yellow floral print viscose from my local market. It was £3.99 a meter and I got a meter and half.
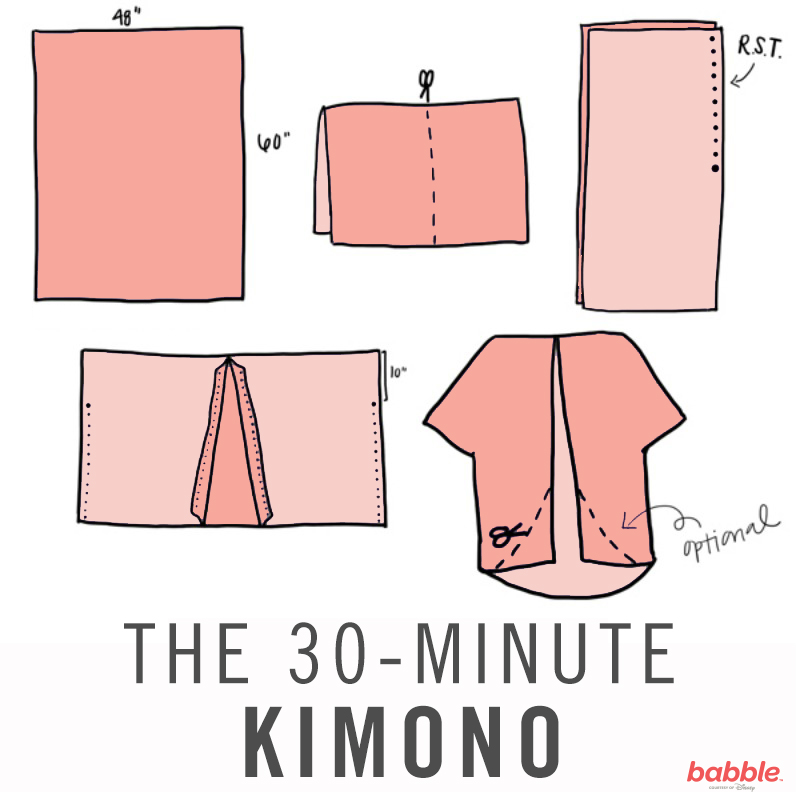 |  |
The instructions say you need 48" x 60", my fabric was only 44" wide but it worked just fine. This is the arm length, so I reckon it could even go a bit shorter. First of all you fold your fabric in half so that you have a (folded) piece measuring 48" x 30". Then you need to cut straight up the middle of your fabric until you get to the fold. Only cut the folded piece on top, this is where I changed from the instructions, it says cut all the entire piece up the middle and then sew it back up half way ... why not just cut it half way?!
Then we get to pinning and hemming. This takes a while, but its worth it! Hem any exposed side that will fray; so all along the bottom, up the opening you have just cut, and the sides if necessary (which wasn't on mine as the fabric didn't fray along this edge). I doubled rolled my hems and pressed them, so they'd lay fairly flat as I sewed them.
Then we get to pinning and hemming. This takes a while, but its worth it! Hem any exposed side that will fray; so all along the bottom, up the opening you have just cut, and the sides if necessary (which wasn't on mine as the fabric didn't fray along this edge). I doubled rolled my hems and pressed them, so they'd lay fairly flat as I sewed them.
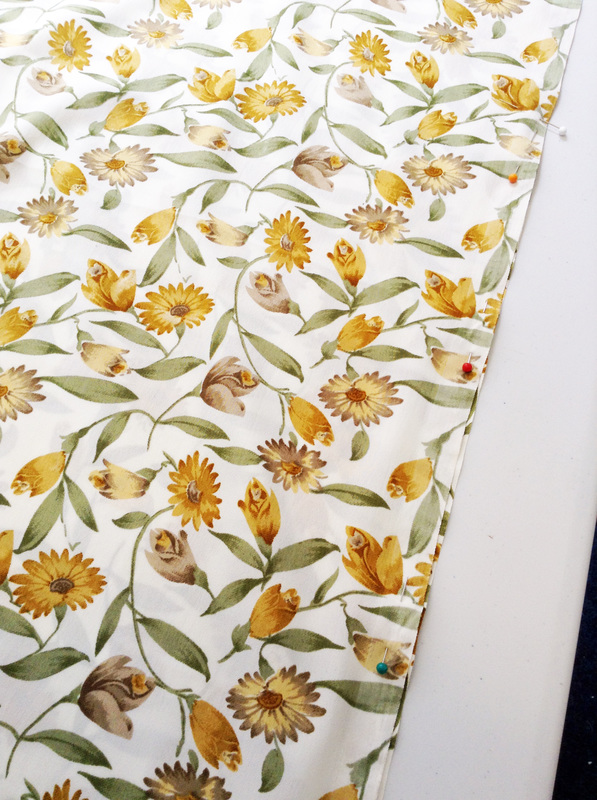 |  |
After all your hemming, you need to make some arm holes. Measure 10" down from the top of your fold on each outside edge. Then mark it and sew from the bottom up to this point. A zigzag stitch wouldn't go a miss here if you don't have an overlocker (which I don't) as this seam will get the most aggro.
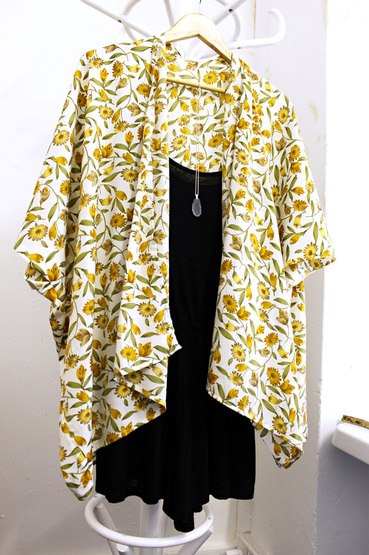
Now you're done! Just give it all an iron and put it on! One summer ready kimono!
Here are some pictures of my wearing mine on a very windy day...
Now you're done! Just give it all an iron and put it on! One summer ready kimono!
Here are some pictures of my wearing mine on a very windy day...
 |  |
I'm hoping to go and get more of the fabric and make a matching pair of shorts so that I have a summery suit! I'll post the DIY on here when I do!
Thanks for reading, post your links if you make your own summer kimonos!
Laura x
Thanks for reading, post your links if you make your own summer kimonos!
Laura x


 RSS Feed